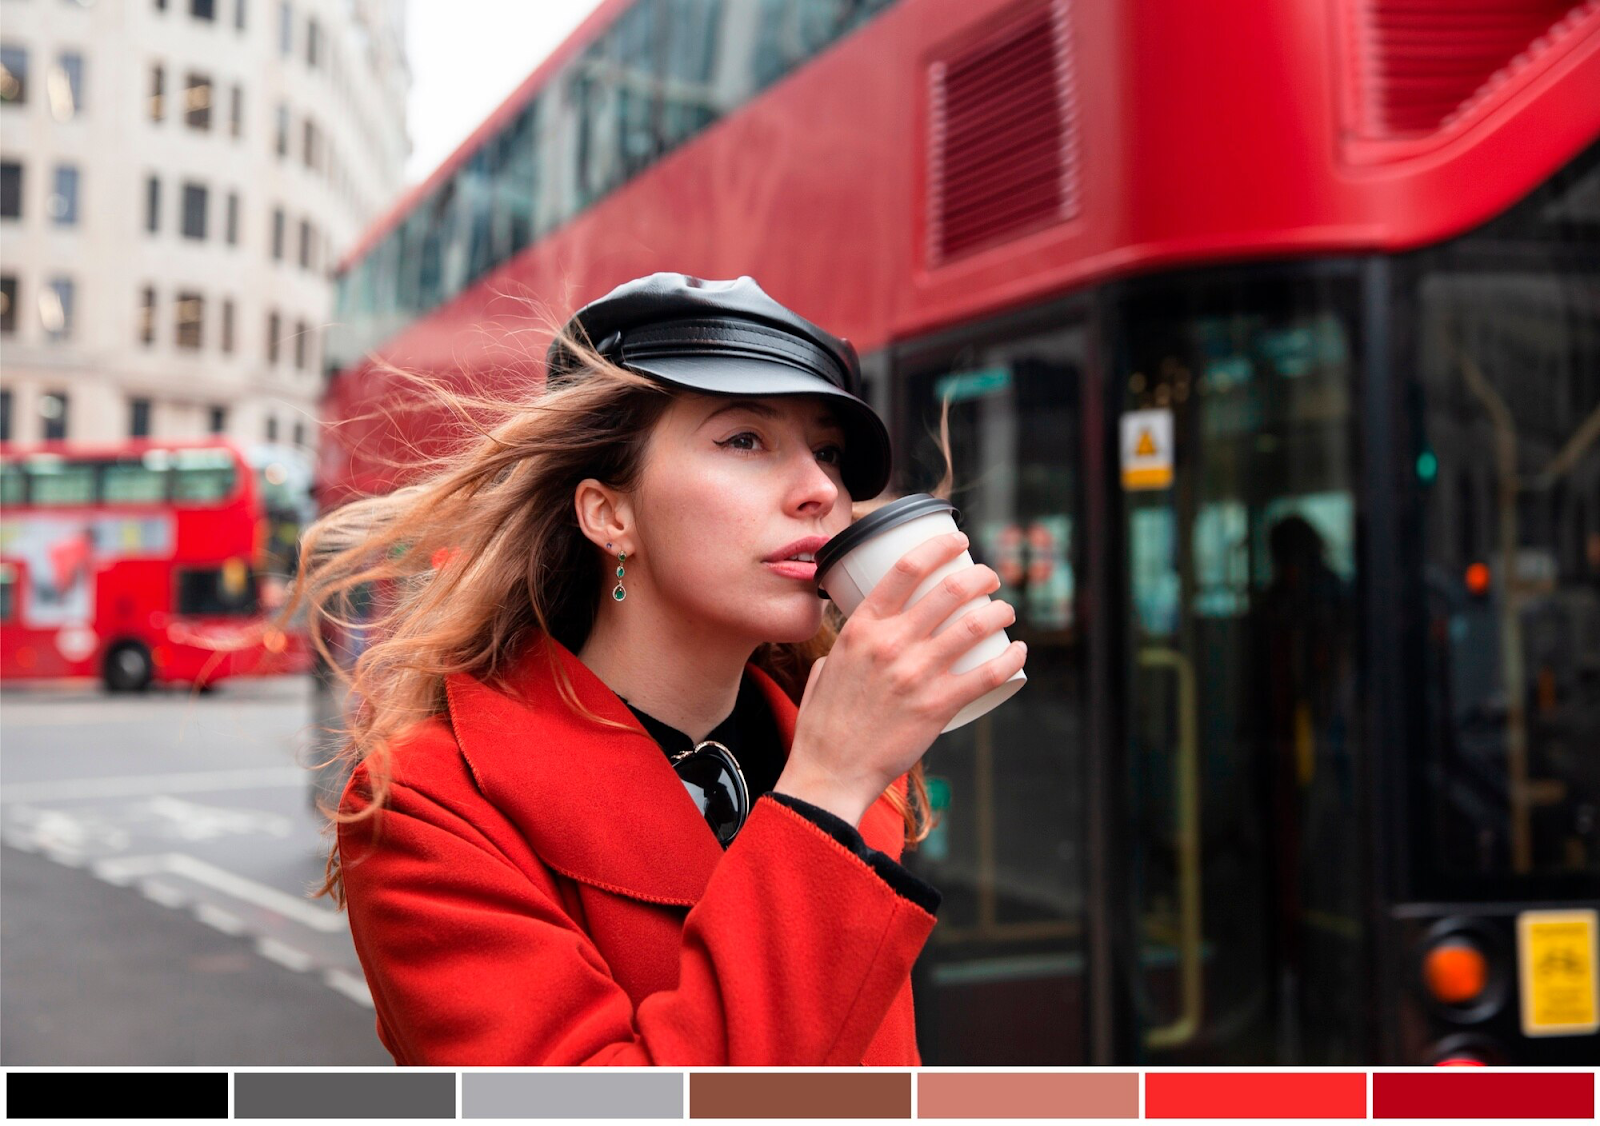
What to always pay attention to in photo correction
Color grading is an important step in the post-production process of video editing and image processing. It allows you to control and change the color palette of a video or photo to create the desired visual impact, convey mood, and enhance the aesthetic quality of the content.
This underscores the significance of professional photo color correction in post-processing. It enables photographers to attain impeccable color balance, elevate visual impact, and craft mesmerizing images that linger in memory.

Simple but effective tips
Professional color grading involves utilizing various tools and techniques to enhance and manipulate the colors in images. Here's a breakdown of the key points:
- Which source is best to use for color correction? Professional photographers take photos for printing not in the usual JPEG format, but in the professional RAW format (this format is often called “digital negative”). The main difference between these two formats is that only the RAW format has the possibility of serious post-processing. The result of manual RAW color correction is noticeably superior to the ability of cameras to do it in automatic mode. If the photo is made in JPEG format, any intervention will only lead to deterioration of image quality. Beginners and amateurs, by performing basic photo correction, can improve their JPEG files within certain limits. If the photo is intended for web publishing, such processing may be sufficient.
- Brightness and contrast. Brightness and contrast problems are the most obvious reasons to correct the color in a photo. A shot that is too dark or dull will not be of interest. The Brightness/Contrast tool allows you to make simple adjustments to the tonal range of an image. Moving the brightness slider to the right expands the highlights of the image; dragging it to the left reduces the values and expands the shadows. The contrast slider expands or contracts the overall tonal range of the image.
- Creating a gradient. When creating a gradient, you should enable the Blur option in the Gradient Options dialog box to avoid regular streaks that appear in the direction perpendicular to the gradient vector. Alternate use of the Blur and Noise filters can also be an effective method of combating these streaks. It is recommended to disable those channels of the four main C M Y K channels that do not participate in gradient formation before using the Noise filter directly. Very often such a channel is Black, less often Cyan. This disabling is related to the peculiarity of the Noise filter, which creates a color of the channel even if it was not present before the filter was applied, resulting in a tonal change of the gradient.

Most importantly, have fun with it. Push the boundaries, experiment with Curves and your masking skills, and listen to how far you can go. Create crazy and exaggerated effects, just to see how each color channel affects your processed shots. Don't drag curves in one direction, see what happens if you make an S-shape. Don't limit yourself and in the end, ask for constructive criticism, and be prepared for victims to spend a lot of time honing even simple techniques.
